Happy Vegan MOFO everyone!
Now that fall is in full swing I'm totally into pumpkin, squash, and soup; preferably all together! This soup is one of my favorites and is frequently requested by dinner guests. I make it several times during the fall and winter and the flavors never get old. Don't be fooled though! This soup uses easy to find ingredients, is pretty quick to make, and is in no way rocket science!
Thai Pumpkin Coconut Soup
16 C. Water
1 medium onion, very small dice
6 Boullion Cubes (I use Rapunzel brand, no salt added)
1 can coconut milk
1 T. Fresh Ginger, minced
1 Package Soft Tofu, cubed
1 Large Butternut squash, peeled and cut in bite size pieces (about 3 cups)
3 Large Sweet Potatoes, peeled and cut in bite size pieces (about 3 cups)
3 T. Soy Sauce
1 T. Salt
1/2 T. Pepper
1 t. Ground Cumin
1 T. Parsley
1 t. Dill
1 t. Basil
3 cloves of garlic, minced
Juice of one large lemon
1 t. Tumeric
1 t. Chili Powder
3-4 Generous handfuls of baby spinach, washed
Optional: (add at the end)
1-2 t. Thai Chili Sauce, or 1/2 t. Dried Chili Flakes, or 1-2 Fresh Red Chilies Sliced
2 t. Agave (add to level out the spice if needed)
Juice of 1-2 Limes (if you like extra citrus flavor)
1. In a large stockpot saute the garlic and the onions in olive oil until the onions are translucent and the garlic lightly golden.
2. Add the water and the bouillon cubes. While the bullion cubes are disintegrating in the water cut the squash and the potatoes and add them to the stock pot. Bring to a boil and after 7-8 minutes check on the potatoes and squash. When they are cooked reduce the heat to low and add all of the other ingredients except the tofu and the spinach.
3. Shortly before you want to serve the soup add the tofu cubes and allow them to warm through. Add the spinach and stir. Allow the spinach to wilt. Serve immediately. Enjoy!
Notes: This soup makes excellent leftovers and is good with or without bread. The spinach doesn't get weird even after a few days. This soup can also be frozen (without the spinach and tofu). Experiment with the spices and don't be shy about trying more or less of the flavors you like! This soup is about bold flavors, so don't be shy!
Showing posts with label Garlic. Show all posts
Monday, October 3, 2011
Thai Pumpkin Coconut Soup
Saturday, June 11, 2011
Kickin' Ketchup - Incredibly Addictive
So since I've been making some confessions lately I figure I shouldn't stop now. I am addicted to ketchup. At first I thought it was simply the white sugar it contained but after switching to agave sweetened ketchup I was still buying it in bulk and purposefully making things to put it on. Back in the day I bought ketchup in 64oz containers, they were like the free weights you would use at the gym. Yes, I think it's safe to say I have a problem.
But from my addiction sprang something even better than store bought ketchup. This ketchup is not just one straight up flavor. It has layers of complex flavors. Its savory, thick, and doesn't separate (no more ketchup water!). I want to spread this stuff on every thing from veggie dogs (done), garlic fries (done several times), toast, sandwiches, pizza, and really any form of potato. I can't help myself. It's that good.
Kicking Ketchup
Makes about 3 1/3 Cups
2 12oz cans tomato paste, no salt added
6 cloves garlic, minced
2 T. Olive Oil
1 T. Onion Powder
2 T. Balsamic Vinegar
2 T. Apple Cider Vinegar
1/4 C. Honey
1/4 C. Agave
1/2 T. Chili Powder
1 T. Parsley
1 T. Dill
1 t. fine Sea Salt
1/2 t. Fresh ground black pepper
1 t. Hot Sauce (I use Tabasco Habanero hot sauce, pictured above)
2 T. Warm water
1. In a medium sauce pan saute the garlic in the olive oil until just golden brown. Remove from heat.
2. Add all other ingredients. Start with the liquids (to stop the garlic from cooking further), then add the spices and tomato paste. Stir thoroughly to combine everything.
3. Heat on medium low for 5 minutes, stirring frequently if not continuously (you don't want it to burn!). Make sure to scrape the sides and bottom of the sauce pan. Remove from heat and allow to cool completely before refrigeration.
Notes: I store my ketchup in an old squeeze bottle that used to hold agave but any bottle will do. I've also put it in mason jars (they make great gifts!) and just used a spoon to smother whatever I'm eating. This ketchup is really best when it has time to sit over night. You can use it right away but the flavors really get better after it's had a chance to sit.
I've been asked a lot if I have tried canning this. I have not (yet!) but since it's very acidic you probably could. In the future I will try it and let you know how it goes. I might attempt it before Christmas so I could add a small jar to the gift baskets I make.
Now, go forth, fearlessly into your kitchens and create this sauce from heaven.
As a bonus, if you successfully can this recipe (with few alterations) and tell me how you did it I will mail you a wonderful gift as a thanks!
But from my addiction sprang something even better than store bought ketchup. This ketchup is not just one straight up flavor. It has layers of complex flavors. Its savory, thick, and doesn't separate (no more ketchup water!). I want to spread this stuff on every thing from veggie dogs (done), garlic fries (done several times), toast, sandwiches, pizza, and really any form of potato. I can't help myself. It's that good.
Kicking Ketchup
Makes about 3 1/3 Cups
2 12oz cans tomato paste, no salt added
6 cloves garlic, minced
2 T. Olive Oil
1 T. Onion Powder
2 T. Balsamic Vinegar
2 T. Apple Cider Vinegar
1/4 C. Honey
1/4 C. Agave
1/2 T. Chili Powder
1 T. Parsley
1 T. Dill
1 t. fine Sea Salt
1/2 t. Fresh ground black pepper
1 t. Hot Sauce (I use Tabasco Habanero hot sauce, pictured above)
2 T. Warm water
1. In a medium sauce pan saute the garlic in the olive oil until just golden brown. Remove from heat.
2. Add all other ingredients. Start with the liquids (to stop the garlic from cooking further), then add the spices and tomato paste. Stir thoroughly to combine everything.
3. Heat on medium low for 5 minutes, stirring frequently if not continuously (you don't want it to burn!). Make sure to scrape the sides and bottom of the sauce pan. Remove from heat and allow to cool completely before refrigeration.
Notes: I store my ketchup in an old squeeze bottle that used to hold agave but any bottle will do. I've also put it in mason jars (they make great gifts!) and just used a spoon to smother whatever I'm eating. This ketchup is really best when it has time to sit over night. You can use it right away but the flavors really get better after it's had a chance to sit.
I've been asked a lot if I have tried canning this. I have not (yet!) but since it's very acidic you probably could. In the future I will try it and let you know how it goes. I might attempt it before Christmas so I could add a small jar to the gift baskets I make.
Now, go forth, fearlessly into your kitchens and create this sauce from heaven.
As a bonus, if you successfully can this recipe (with few alterations) and tell me how you did it I will mail you a wonderful gift as a thanks!
| Hot Ketchup |
Wednesday, June 8, 2011
Banh- Mi (Vietnamese Sandwiches)
So I have a confession to make. Its beyond too hot to cook today, the same thing happened yesterday. But today I wanted to make something refreshing and ethnic. Something very non- American. Ladies and gents, allow me to introduce the Banh- Mi. Its gloriously simple, packed full of flavor, and has very little cooking involved.
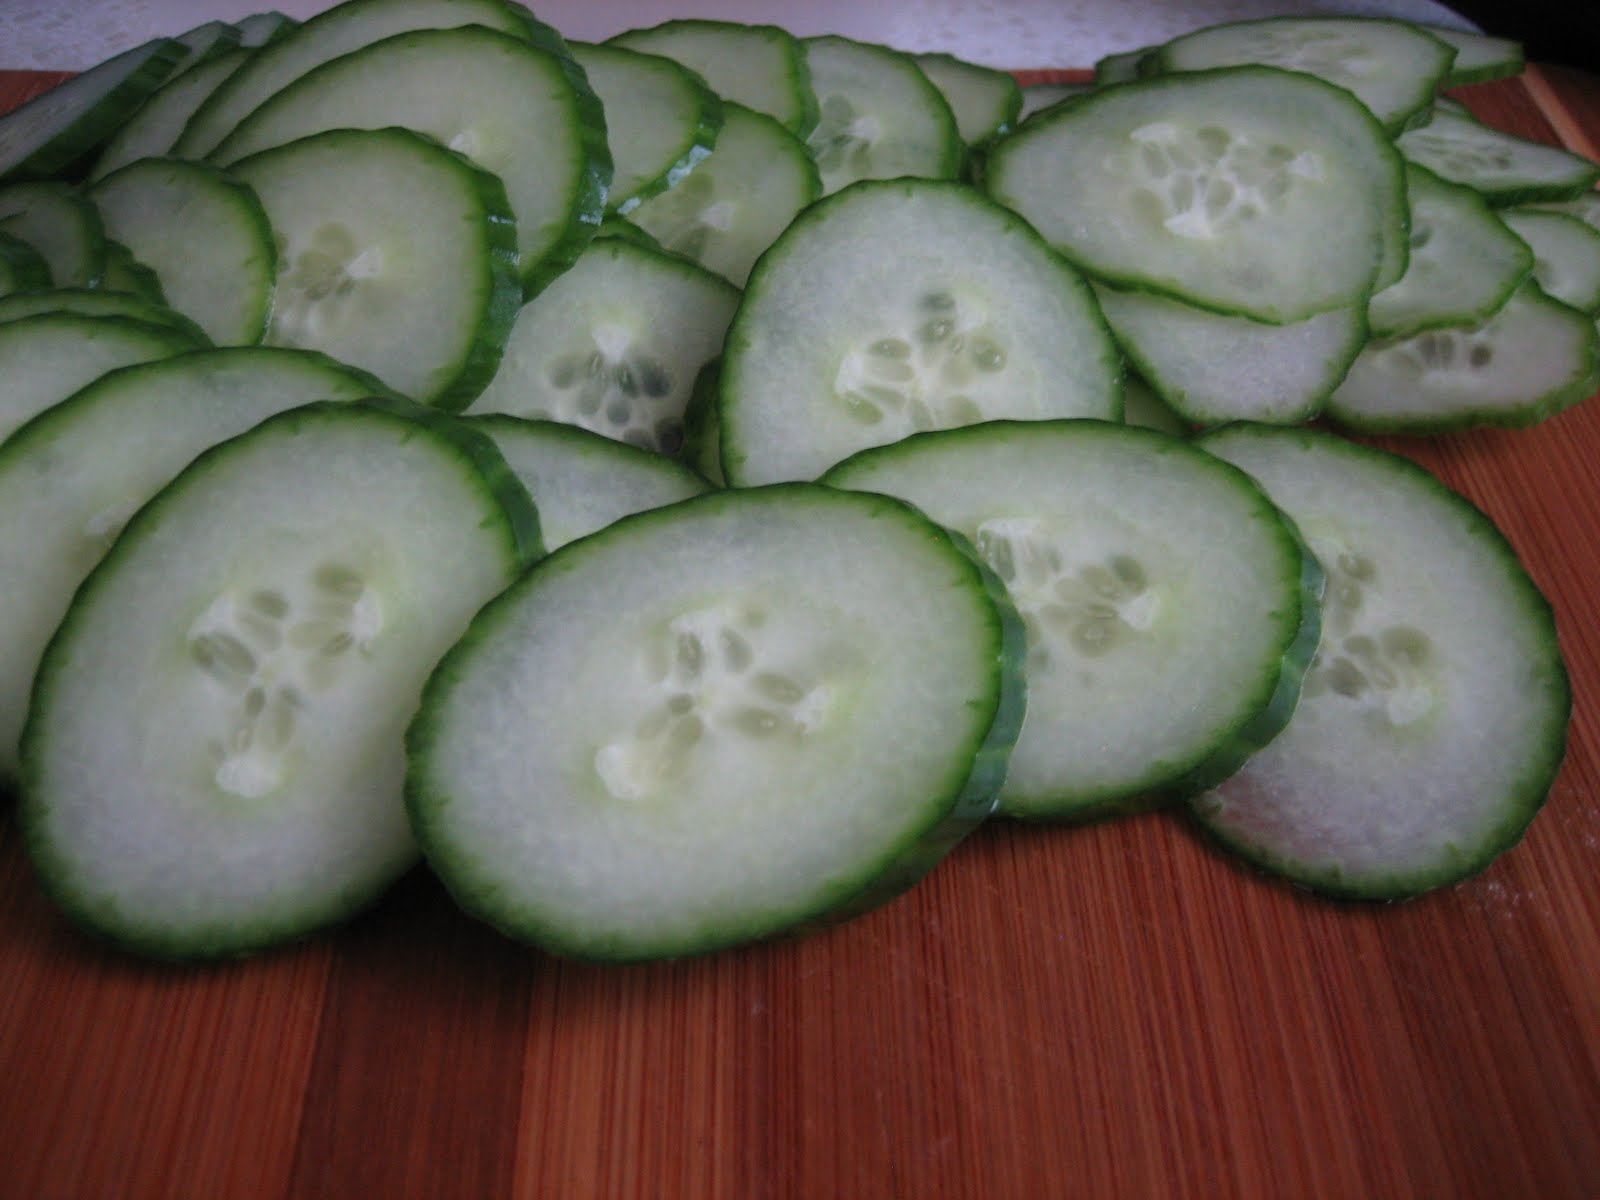
But first let me just say that this sandwich is customarily not vegetarian although it is really delicious anyway. I choose to top it with cucumber although other vegetables such as carrots and pretty much anything yummy and crunchy is suitable. Another common topping is mayonnaise, which is great but I couldn't resist putting my own twist on that as well.
Garlic- Avocado Mayo
1 ripe avacado
3-4 T. Vegan Mayonnaise
2-4 Cloves of garlic, minced
Juice of one lime
Salt and Pepper to taste
1. In a small bowl roughly mash the avocado.
2. Add all the other ingredients and combine well.
Keeps well in the fridge in a sealed container. To keep it from browning add the avocado pit to the container. Also makes an excellent spread for breads.
Banh- Mi Tofu
1 pkg of firm tofu, cut in 8 slices
1/4 C. Olive Oil
2 cloves garlic, minced
5 T. Soy sauce
2 t. Salt
2 t. Pepper
1 T. Sesame oil
1t. Dijon mustard
Juice of one lemon (about 2T.)
1. Place all ingredients except tofu into a large zip-lock baggy or seal-able container. Combine well.
2. Add tofu to marinade and allow to sit for a few hours or preferably overnight. Shake up the container every once in a while to make sure all the tofu is being soaked by the marinade.
3. Preheat oven to 350 degrees F. Put tofu on a cookie sheet. Brush the top of the tofu with the marinade and bake for 5-10 minutes. Flip tofu, brush other side with marinade and bake for another 5-10 minutes or until each side is slightly browned.
I used burger buns for my sandwich but you could use some kind of rustic more traditional sandwich bread if you prefer. I spread a generous amount of the mayo on the top piece of bread. Also I chose to keep it simple and just use sliced cucumbers as my topping since the mayo and tofu had so much flavor to it. Feel free to try other veggies like shredded carrots, sprouts, daikon, or any fresh herbs. As an added bonus I toasted my bread so it wouldn't get soggy and it added a nice crunch and mouth feel to the overall sandwich.
This sandwich is pretty quick and super easy. Don't fret if you don't have one of the ingredients for the marinade, just substitute something close. If you don't like mayo you can use hummus, or a bean dip instead. It may be less traditional but it's still super tasty!
But first let me just say that this sandwich is customarily not vegetarian although it is really delicious anyway. I choose to top it with cucumber although other vegetables such as carrots and pretty much anything yummy and crunchy is suitable. Another common topping is mayonnaise, which is great but I couldn't resist putting my own twist on that as well.
Garlic- Avocado Mayo
1 ripe avacado
3-4 T. Vegan Mayonnaise
2-4 Cloves of garlic, minced
Juice of one lime
Salt and Pepper to taste
1. In a small bowl roughly mash the avocado.
2. Add all the other ingredients and combine well.
Keeps well in the fridge in a sealed container. To keep it from browning add the avocado pit to the container. Also makes an excellent spread for breads.
Banh- Mi Tofu
1 pkg of firm tofu, cut in 8 slices
1/4 C. Olive Oil
2 cloves garlic, minced
5 T. Soy sauce
2 t. Salt
2 t. Pepper
1 T. Sesame oil
1t. Dijon mustard
Juice of one lemon (about 2T.)
1. Place all ingredients except tofu into a large zip-lock baggy or seal-able container. Combine well.
2. Add tofu to marinade and allow to sit for a few hours or preferably overnight. Shake up the container every once in a while to make sure all the tofu is being soaked by the marinade.
3. Preheat oven to 350 degrees F. Put tofu on a cookie sheet. Brush the top of the tofu with the marinade and bake for 5-10 minutes. Flip tofu, brush other side with marinade and bake for another 5-10 minutes or until each side is slightly browned.
| Finished Sandwiches! |
This sandwich is pretty quick and super easy. Don't fret if you don't have one of the ingredients for the marinade, just substitute something close. If you don't like mayo you can use hummus, or a bean dip instead. It may be less traditional but it's still super tasty!
Labels:
baked,
Breakfast,
Garlic,
Kid Friendly,
main course,
Sandwich,
Tofu,
Vietnamese
Sunday, April 17, 2011
Glorious Garlic Fries
So lately its been pretty busy around my house. With work, and life I've neglected to post! However, I promise I will now make it up to you with these delicious fries! What else did you think I was busy doing? Cleaning?
In my never ending exploration of the internet I have discovered many things, and many of those discoveries pale in comparison to these fries. I adapted the recipe from Lottie + Doof (not a vegan blog, but still one of my favorites!). You can find the original recipe here, which uses a microwave, but since I have no microwave my instructions involve the oven.
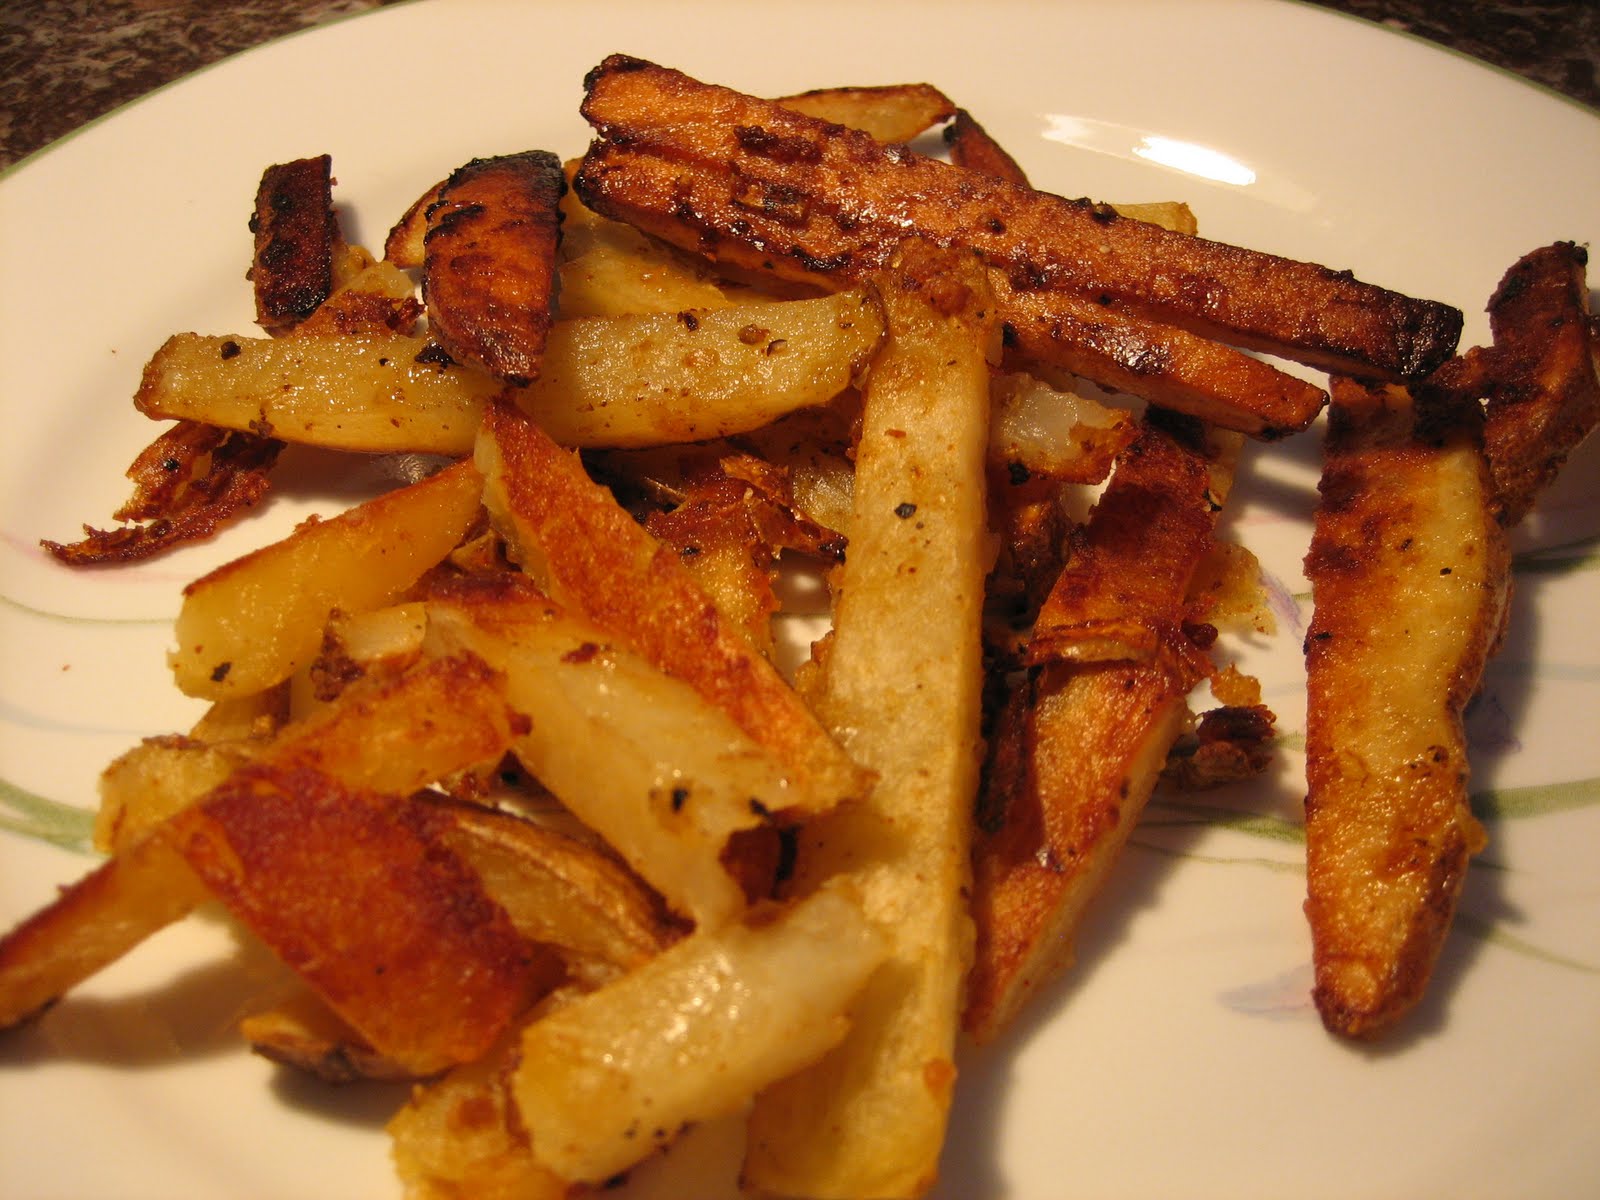
So in the original recipe it says to cut the potatoes into wedges which I obviously didn't do. I quickly cut them into the shapes you see above and they came out delightfully crispy, but they did stick to the pan slightly. The second time I made them I used the mandolin with the fry cutting blade which cut fries about half as thick as my first attempt. Both came out equally good, so its really just a matter of personal preference.
Glorious Garlic Fries
2. Wash the potatoes and cut to your preferences. In a large bowl combine the rest of the ingredients and mix to combine. Add the potatoes and toss to coat.
3. Spread fries on two cookie sheets (the more crowded they are the less crispy they will be!) Toss remaining liquid. It's good to use some type of non-stick cookie sheets, but not required. Chunks of garlic sticking to the fries is a good thing.
4. Bake for 10-15 minutes, flip fries to brown other side, and then cook another 10-15 minutes until they reach a nice golden brown, or however brown you like them. Keep in mind that not every fry will brown, and some may stay cream colored, variety is good. Enjoy!
These are so good you don't even need ketchup. I love ketchup, but I love these fries more!
Notes: If you are having a lot of trouble with your fries sticking to the cookie sheet try these tricks. You can soak the fries for an hour or so in plain water just after cutting, making sure to dry them before adding them to the garlic/oil mixture.You can also just dry them before putting them in the garlic mixture, or you can omit the salt from the mixture (salt draws out moisture= more sticking) and add it after the fries are done baking. You can also do all of the things listed above, but I lack patience and they don't stick very much to my cookie sheets.
This makes enough fries for two main courses or four sides.
In my never ending exploration of the internet I have discovered many things, and many of those discoveries pale in comparison to these fries. I adapted the recipe from Lottie + Doof (not a vegan blog, but still one of my favorites!). You can find the original recipe here, which uses a microwave, but since I have no microwave my instructions involve the oven.
So in the original recipe it says to cut the potatoes into wedges which I obviously didn't do. I quickly cut them into the shapes you see above and they came out delightfully crispy, but they did stick to the pan slightly. The second time I made them I used the mandolin with the fry cutting blade which cut fries about half as thick as my first attempt. Both came out equally good, so its really just a matter of personal preference.
Glorious Garlic Fries
- 10 garlic cloves, minced
- 6 T. vegetable oil
- 4-5 russet potatoes (about 8oz each)
- 2 T. cornstarch
- 1 1/2 t. salt (read notes at the bottom about this)
- 3/4 t. freshly ground black pepper
- 1 t. garlic powder
- 1/4 t. cayenne pepper (or you can add more if you like them spicy)
2. Wash the potatoes and cut to your preferences. In a large bowl combine the rest of the ingredients and mix to combine. Add the potatoes and toss to coat.
3. Spread fries on two cookie sheets (the more crowded they are the less crispy they will be!) Toss remaining liquid. It's good to use some type of non-stick cookie sheets, but not required. Chunks of garlic sticking to the fries is a good thing.
4. Bake for 10-15 minutes, flip fries to brown other side, and then cook another 10-15 minutes until they reach a nice golden brown, or however brown you like them. Keep in mind that not every fry will brown, and some may stay cream colored, variety is good. Enjoy!
These are so good you don't even need ketchup. I love ketchup, but I love these fries more!
| Fries on cookie sheet before baking |
This makes enough fries for two main courses or four sides.
Subscribe to:
Posts (Atom)